Editing
Real estate photography post-processing: a workflow that holds up
A post-processing workflow for real estate photographers: cull, merge, correct, clean up, check the set as a strip, then deliver. In that order, every shoot.
Real estate photography post-processing is everything between the memory card and the delivered gallery: sorting the frames, merging the brackets, correcting colour and geometry, cleaning up the room and checking that the whole set reads as one shoot. The order matters more than the software. Do the steps out of order and you fix the same problem twice.
Here is the order that holds up, whether you edit every frame yourself or hand the heavy part to a service.
1. Cull before you touch anything
Pick the compositions you will deliver before you edit a single frame. Every frame you edit and then drop is time you will not get back. Work room by room: one or two angles per room is usually enough, and the strongest angle goes first in the gallery.
Keep the brackets of each chosen composition together. If you shoot three to five exposures per angle, the set for one composition is the unit you edit, not the single frame.
2. Merge the exposures
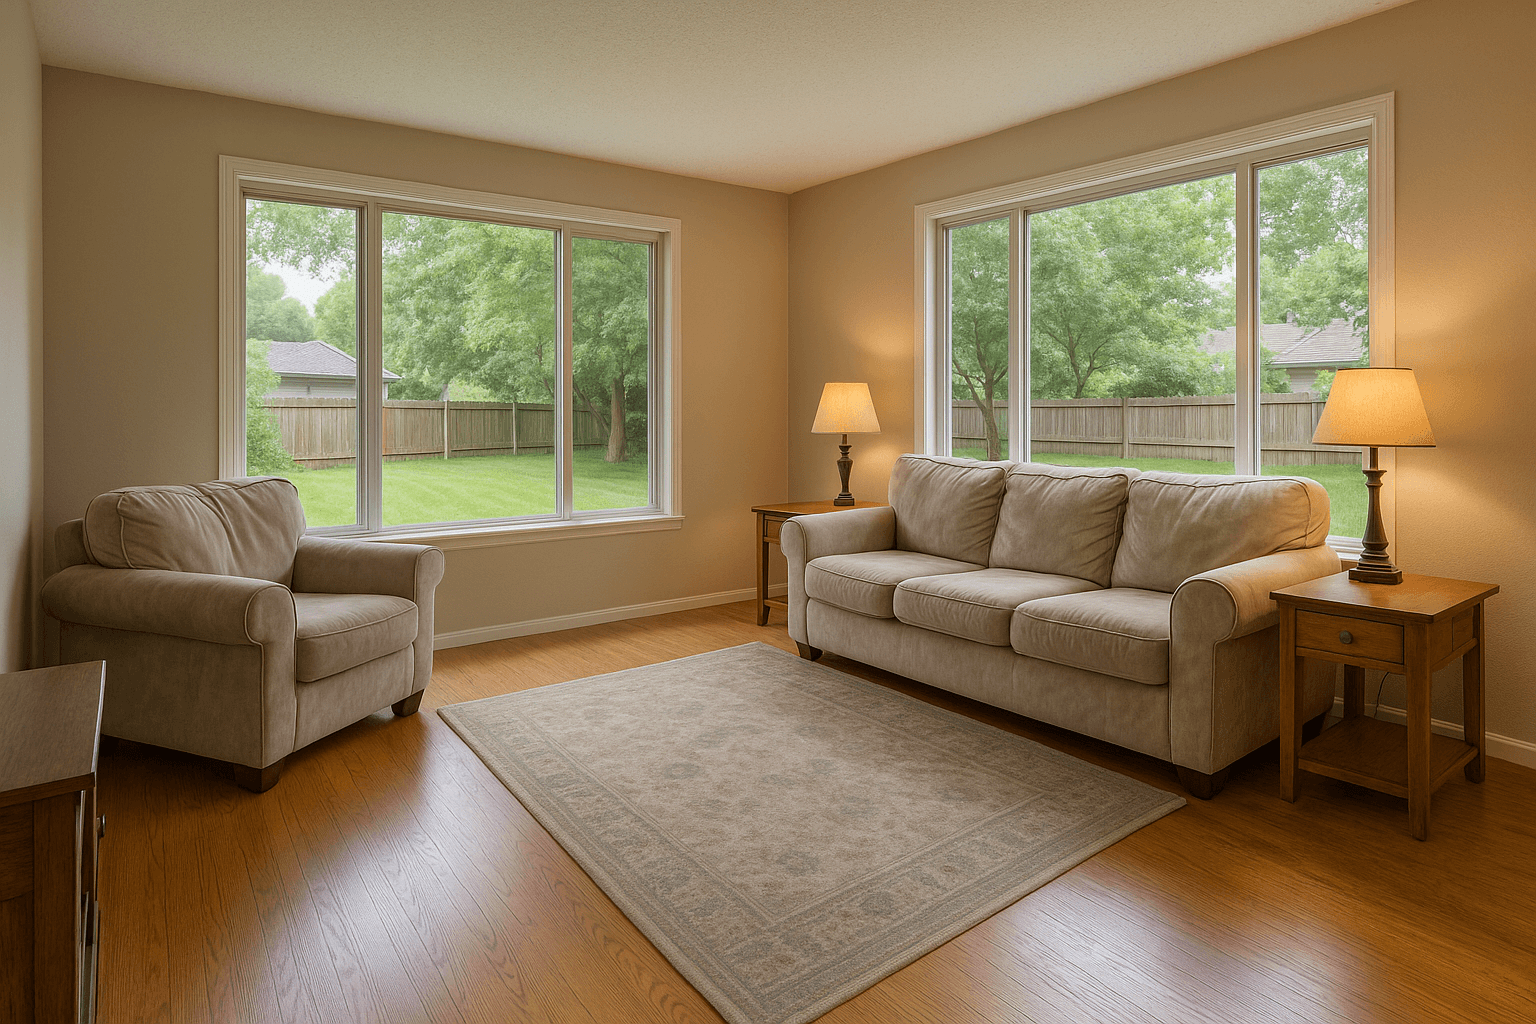
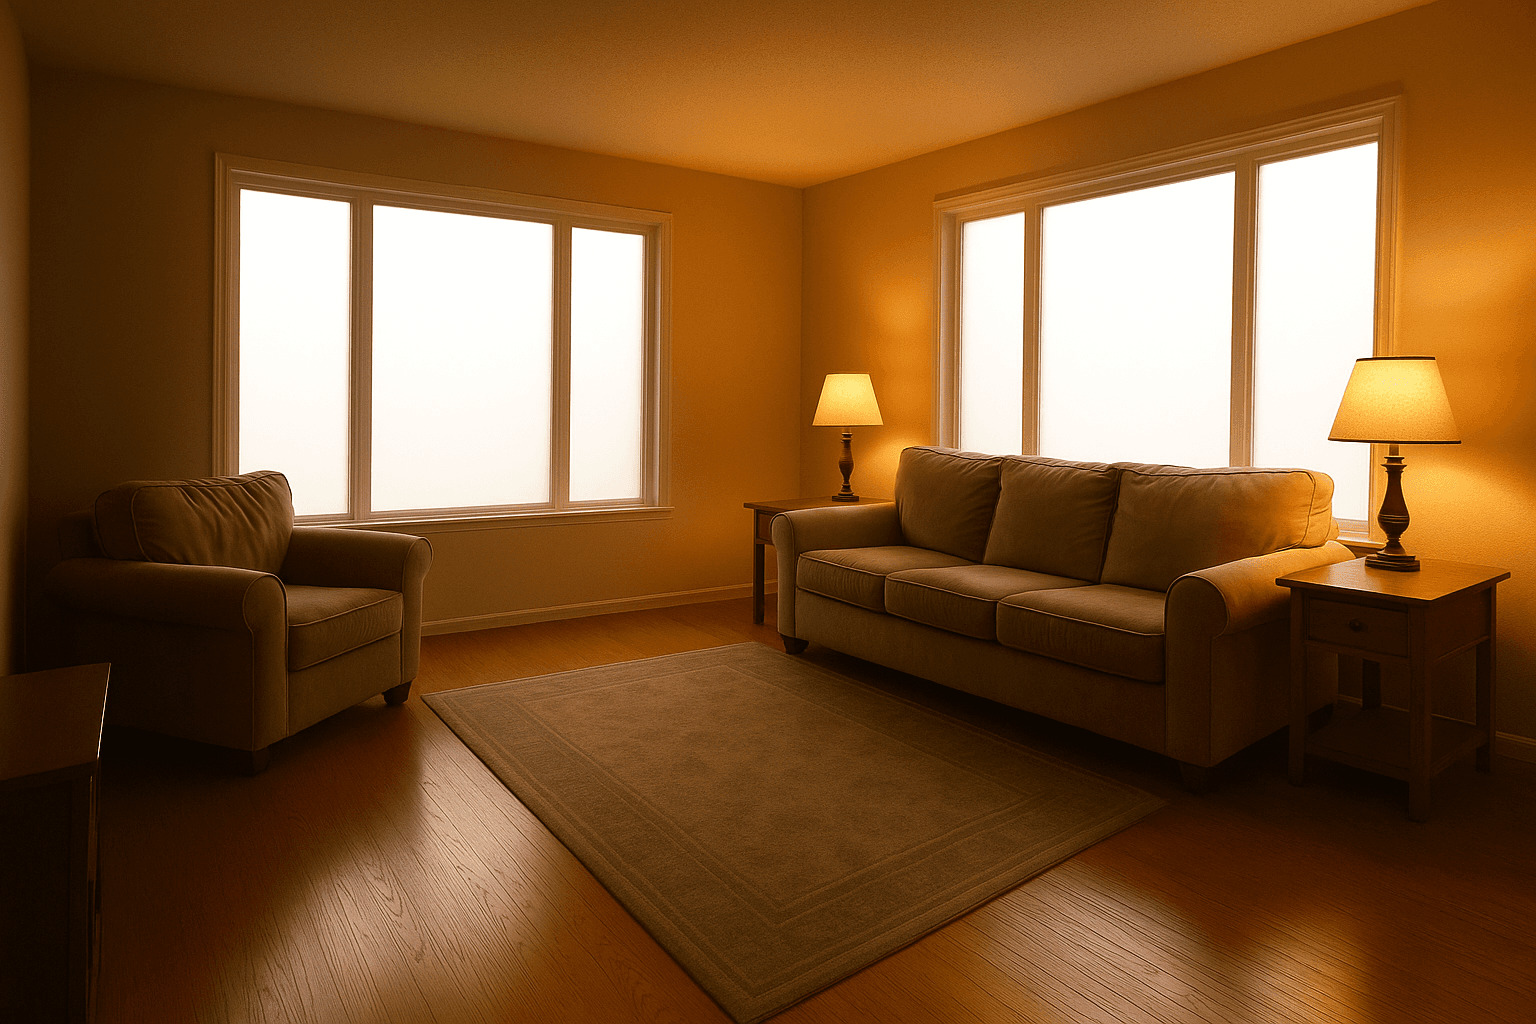
Interiors have a range no single exposure can hold: a bright window and a dim corner in the same frame. Merging brackets takes each part of the scene from the exposure that captured it best, so the room is bright and the view through the window survives.
This is the most time-consuming step to do by hand, and the easiest to hand off. On Better Listing Media, HDR Merge groups your brackets automatically from the EXIF data, merges them, and runs colour correction, vertical correction and sharpening in the same pass. It accepts RAW, JPEG, TIFF and PNG, so the shoot goes up as it came off the card.
3. Correct geometry and colour
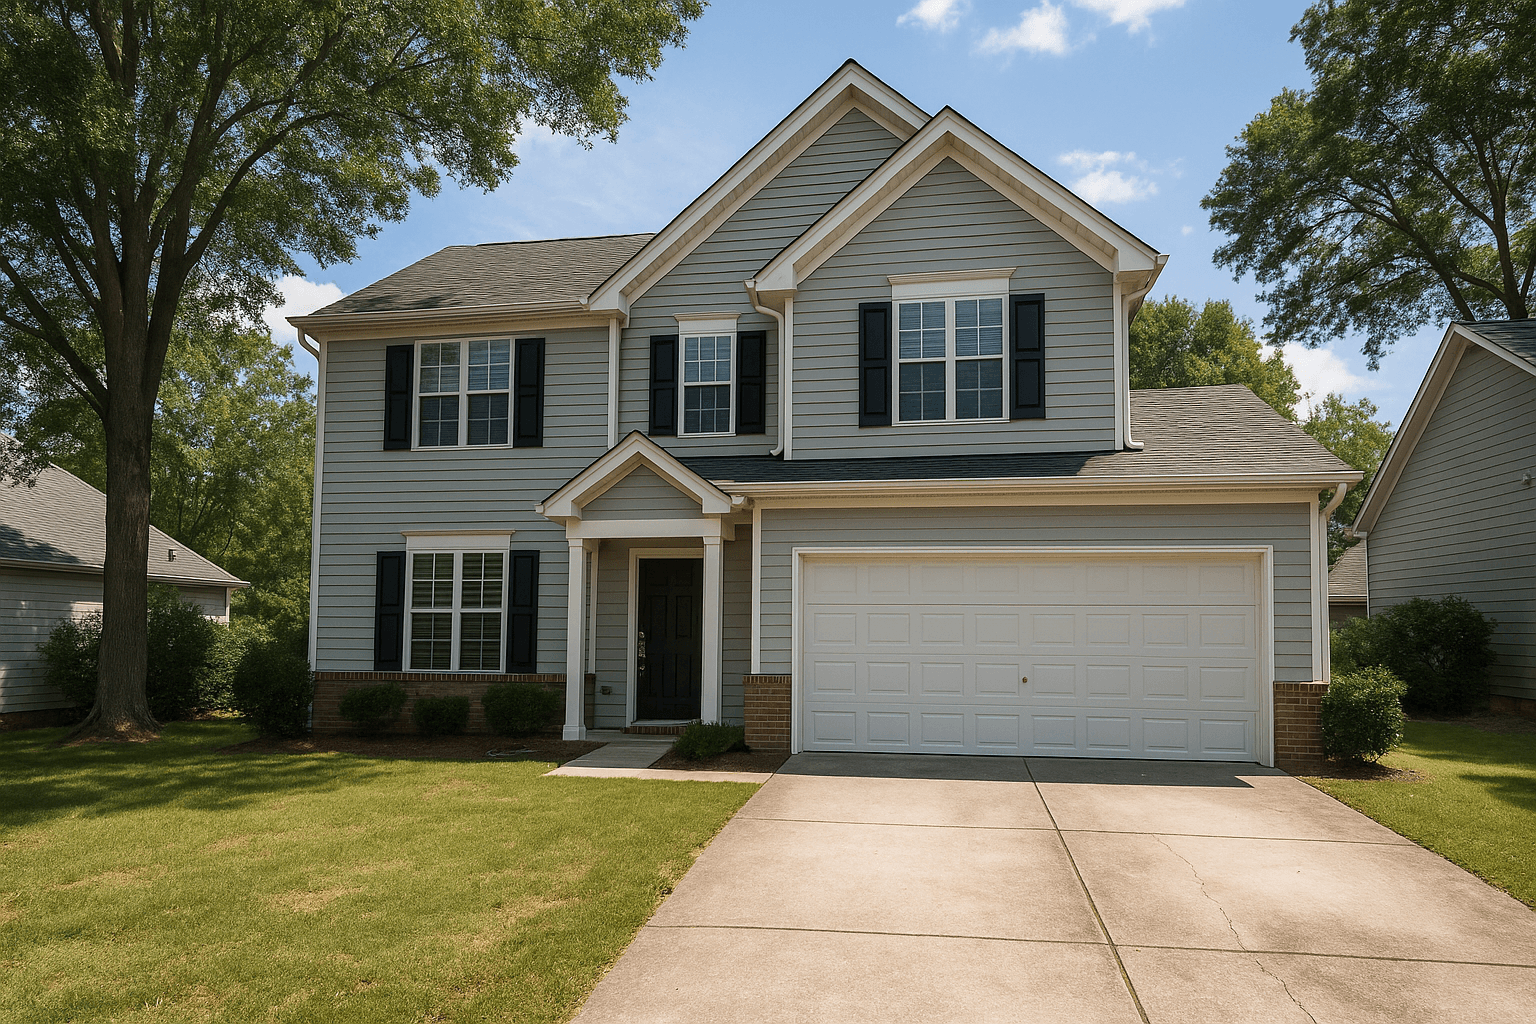
Two corrections carry most of the perceived quality of a listing photo. Verticals: door frames, window edges and wall corners should be plumb, not leaning. Colour: whites should be white, not yellow from tungsten bulbs or blue from the window light.
Decide the correction once per room and apply it to every frame from that room. A kitchen shot from two angles should not have two different whites. In Studio, the Geometry tool straightens the perspective and the Adjust tool holds temperature, tint and exposure, both in the browser and in the desktop app.
4. Clean up the room, not the property
Clean-up is where post-processing can go wrong. Removing things that belong to the seller is expected: cords, magnets, bins, the photographer in the mirror, a glowing TV. Removing things that belong to the house is not: a stain on the ceiling, a crack in a tile, a power line across the view.
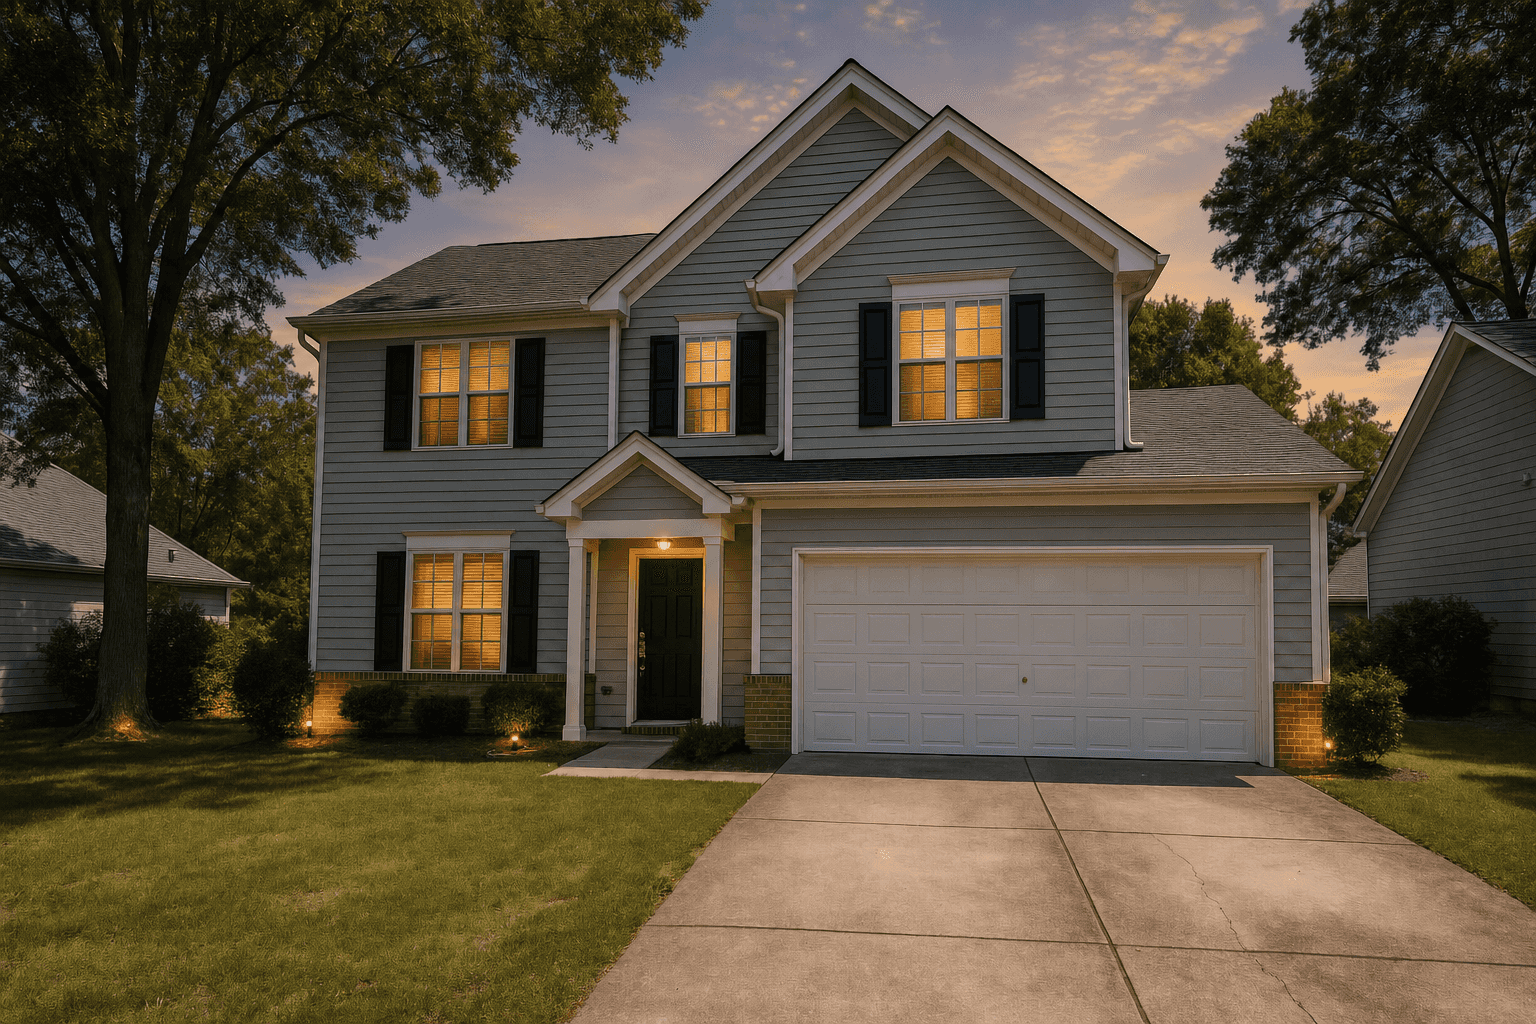
HDR Merge applies the routine clean-up automatically: fireplace lighting, sky replacement, screen replacement, and photographer and camera removal. Anything beyond that is a choice you make photo by photo. The rule to hold is simple: remove possessions, never property.
5. Check the set as a strip
Most inconsistencies are invisible when you look at one frame and obvious when you look at twenty. Before delivery, view the whole shoot at thumbnail size and look for the frame that stands out:
- A room warmer or cooler than its neighbours
- One exterior under a different sky from the rest
- A frame noticeably brighter or darker than the set
- A leaning vertical you missed at full size
- A frame sharpened harder than the others
6. Export for where the photos are going
The listing service, the agent's website and social media all want different sizes. Export full resolution for the archive and the agent, and the sizes each platform accepts for everything else. Our guide to MLS photo requirements covers the sizes and the rules that most often get photos rejected.
7. Approve, then deliver
Whoever does the merge, the photographer signs off. On Better Listing Media, every image is approved by you before it is delivered: the Service produces the edit, you review it, refine what needs it, and deliver through a portal that carries your brand. There is no separate review team between you and the client, because the person who stood in the room is the one who knows whether the colour is right.
This guide goes with Real estate photo editing services.