Editing
HDR merge real estate photography: a start-to-finish guide
How to shoot brackets, import a shoot, order HDR Merge in Studio, review the merged photos and deliver them under your own brand. Every step, in order.
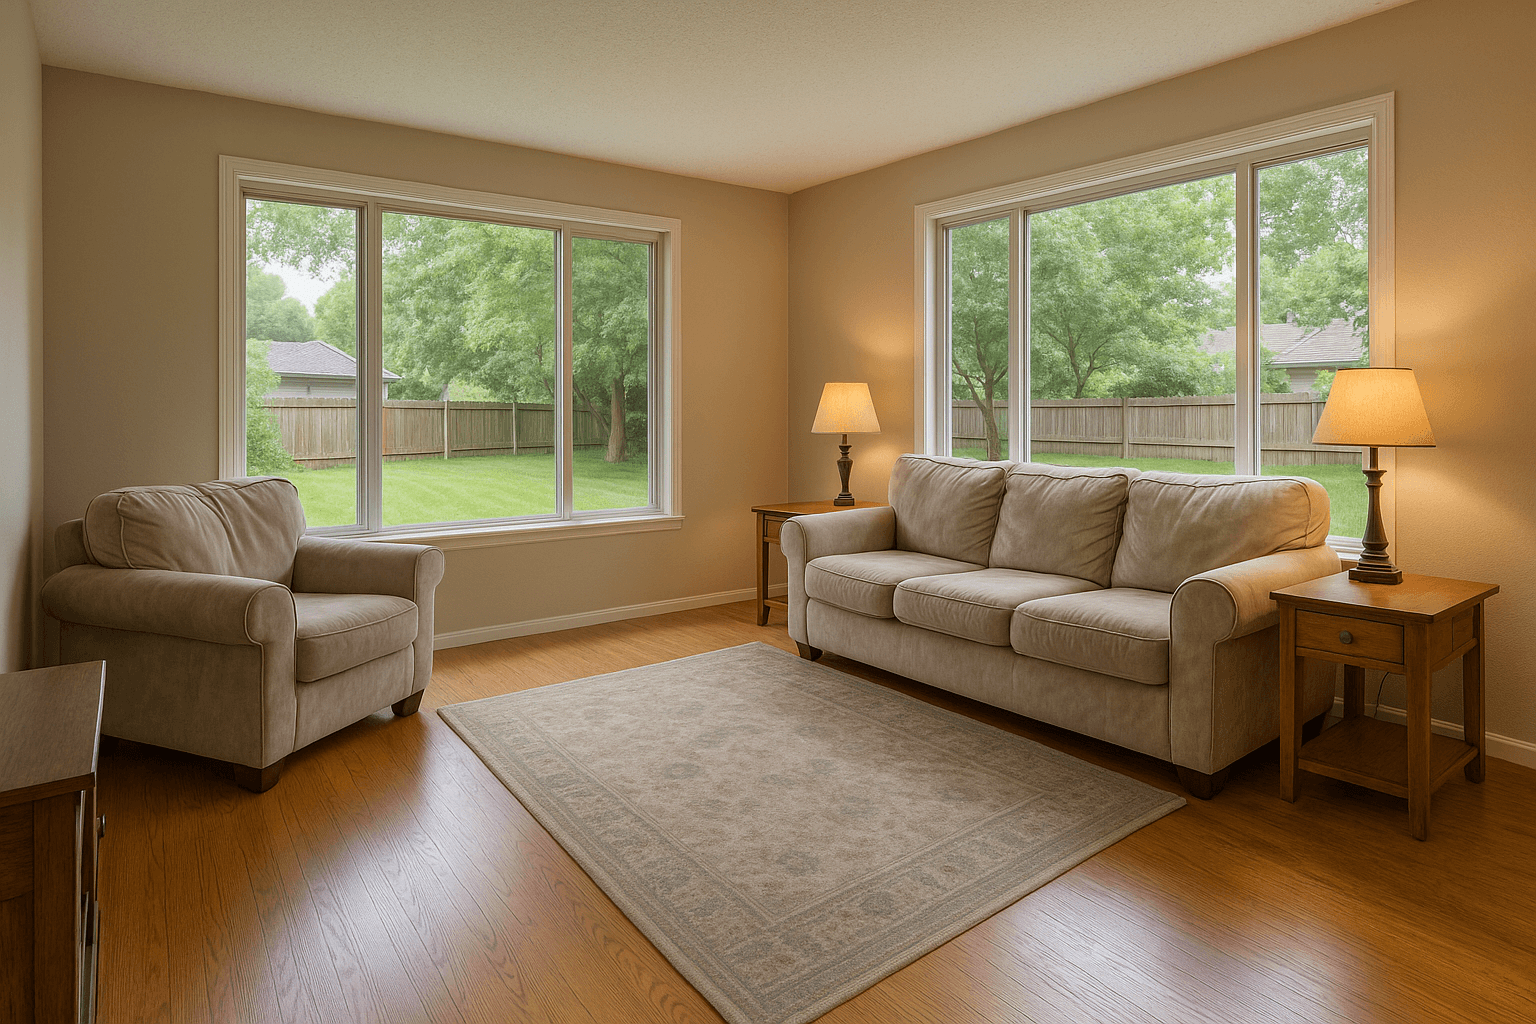
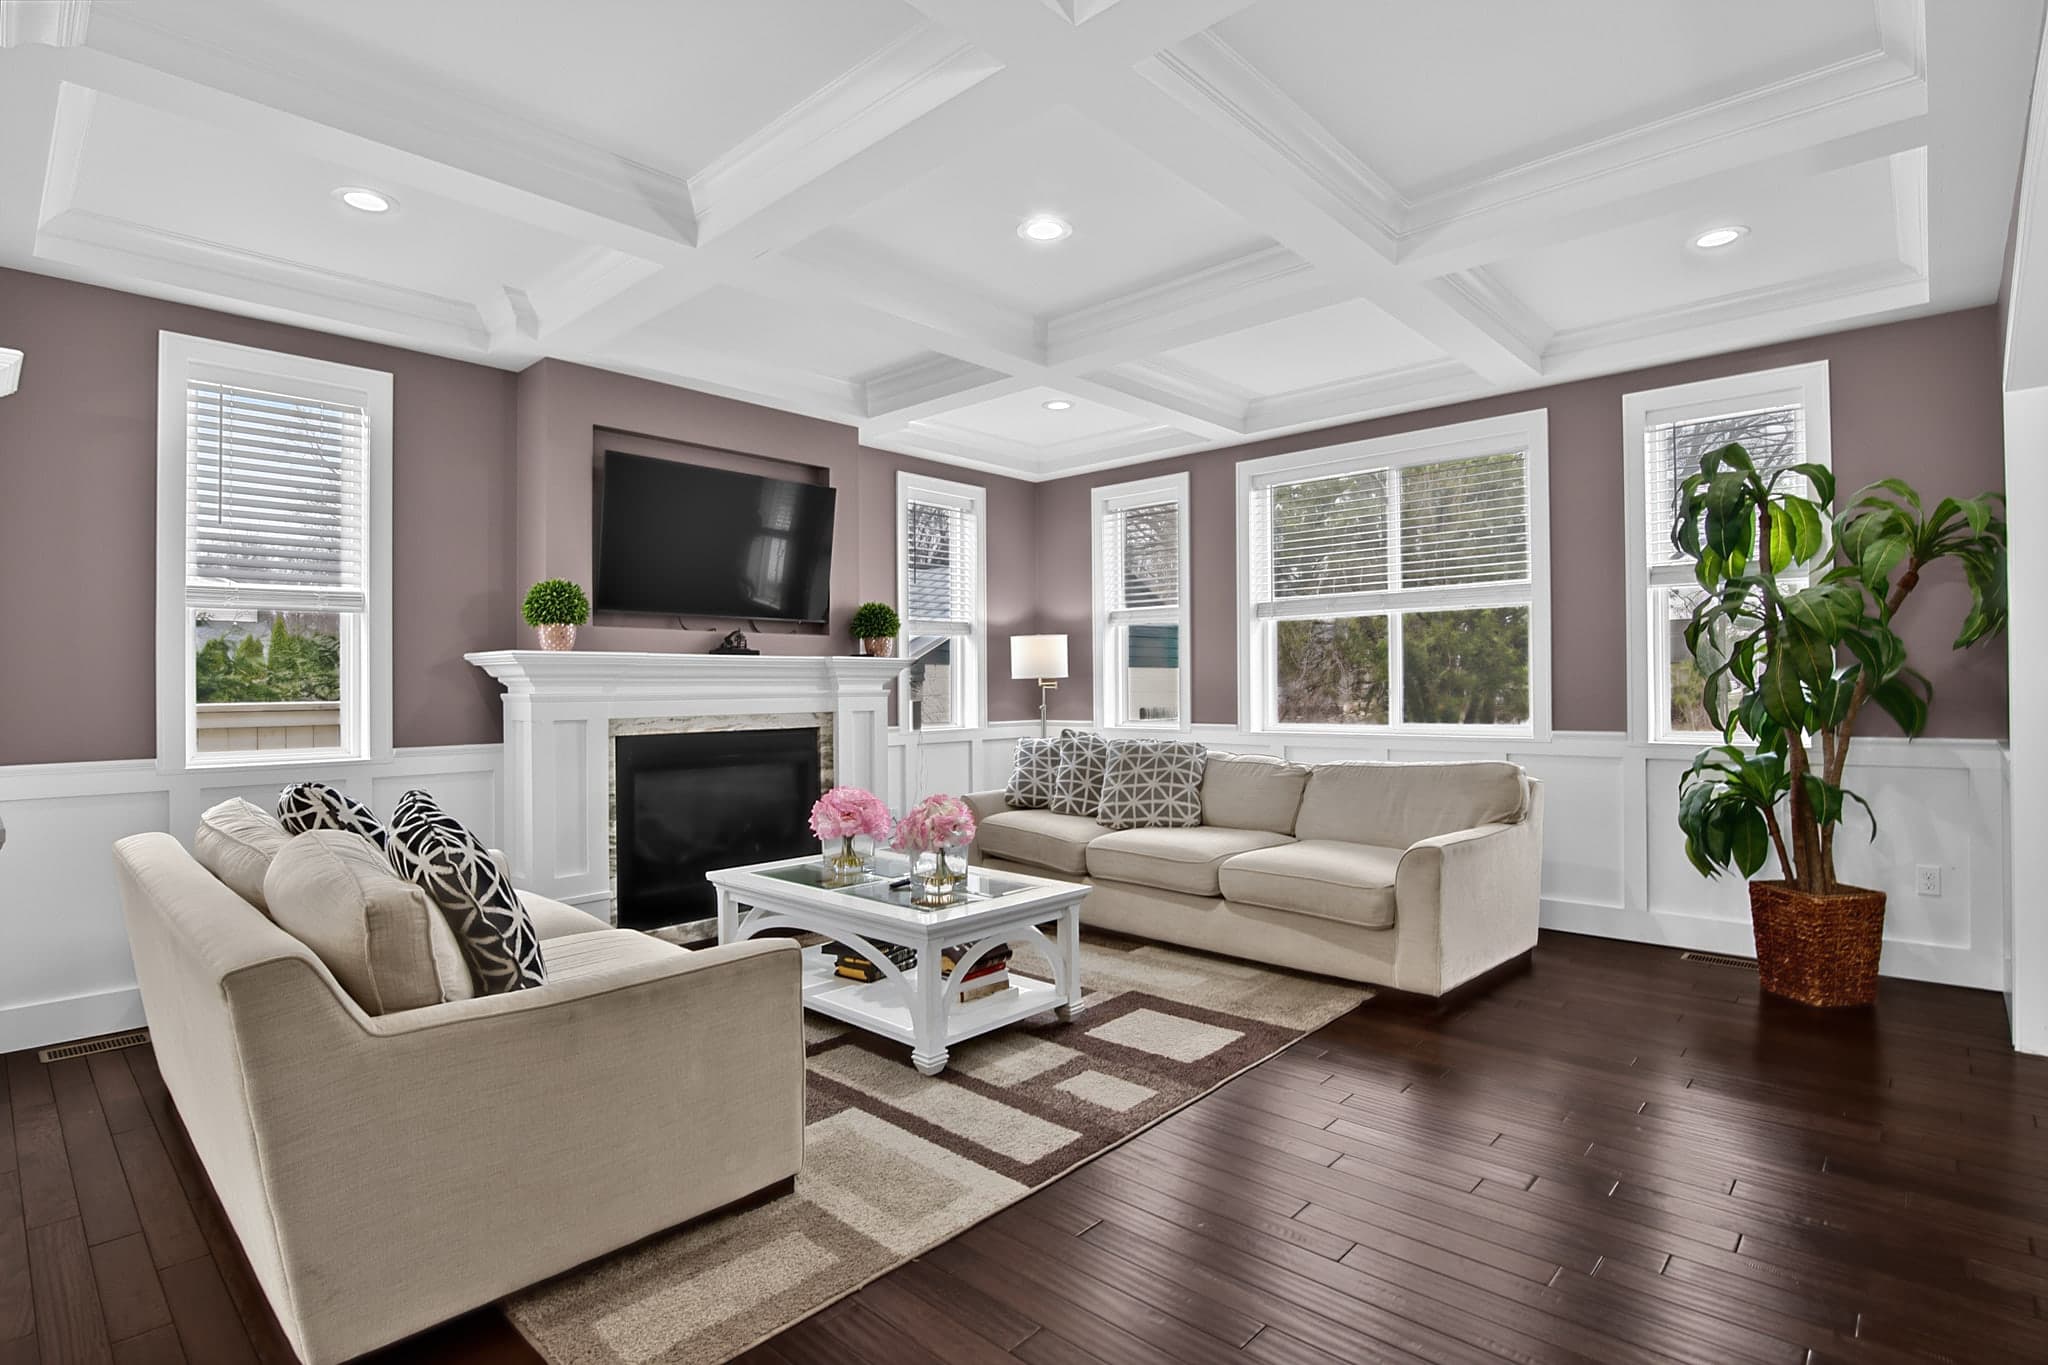
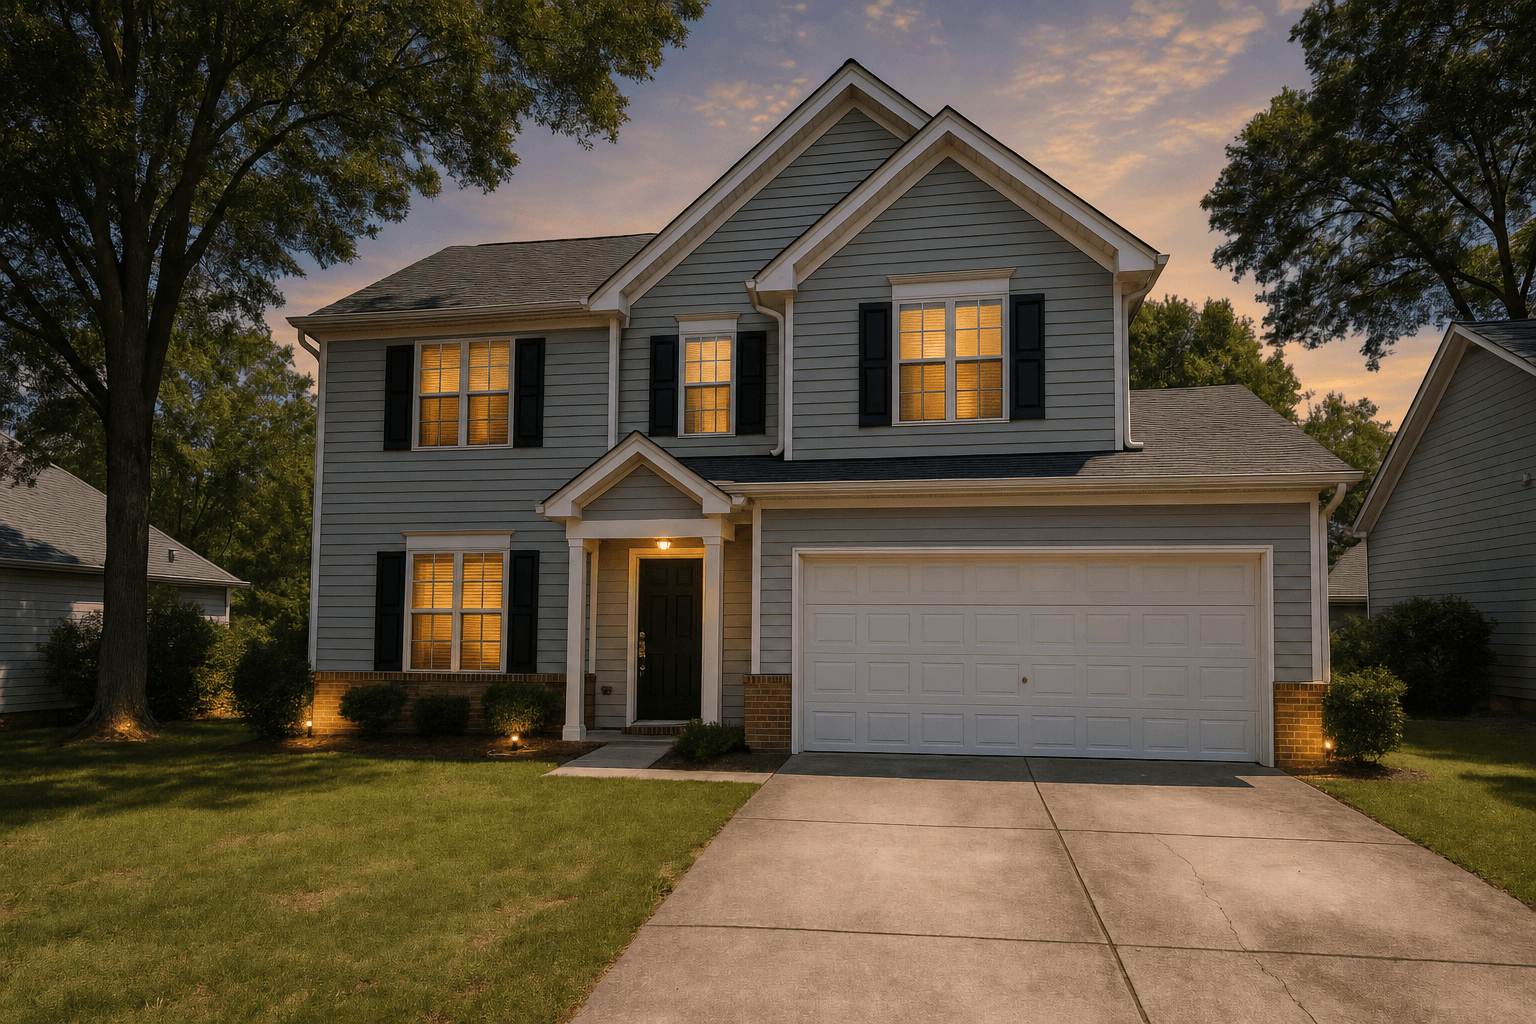
HDR merge is the base edit on almost every listing photo. The camera cannot hold a bright window and a dim room in one exposure, so you shoot several, and the merge takes the best of each. The photos themselves are what buyers lean on: in the 2026 NAR Home Buyers and Sellers Generational Trends report, 81% of recent buyers who searched online rated listing photos "very useful", the highest of any website feature. Getting the merge right is where a good interior photo starts.
This guide walks the whole path in Studio, from the tripod to the client's download link.
Step 1: shoot brackets the merge can use
A bracket set is the same composition captured at several exposures without the camera moving. Three to five frames per composition is the working range: enough spread to hold the view through the glass and open the shadows, without shooting more than the merge needs. Studio accepts sets of up to nine frames. A single frame can be ordered too, but it is tone-mapped rather than merged.
A few habits make the set detectable later and make the merge cleaner:
- Tripod, every time. Registration between frames is what makes a merge look like one photograph.
- Use the camera's auto bracketing so the exposure steps are even. One stop between frames is the usual choice; the set needs at least half a stop of total spread, and two frames at the same exposure read as a duplicate rather than a step.
- Fire the set in one burst. Studio expects consecutive frames within about five seconds of each other, with extra allowance after a long exposure. A pause to adjust the tripod starts a new set.
- One camera per set. Frames from two bodies are never treated as the same bracket.
- Keep aperture and focal length fixed inside a set.
Step 2: import the shoot
Studio takes RAW, JPEG, TIFF and PNG as they came off the card. On the desktop app, a memory card you have marked imports on its own when you plug it in, and you can point the app at a watched folder instead if you tether or copy cards elsewhere. In a browser, drag the whole shoot onto the import window. On the phone app, plug a card reader into the phone and choose the card in the Files picker: every photo is read where it sits, the shoots on the card are tallied by sets, singles, frames and size, and nothing uploads until you send it.
Whichever way the photos arrive, the import is one window with three panes: the shoot on the left, the photos in the middle, the Services and the Order on the right. Three things happen before you touch anything:
- Bracket sets are detected from the files' own metadata: the exposure ladder, the shutter sequence, the capture times and the camera's serial number. You do not sort frames by hand.
- Each set becomes one card, and a single exposure gets its own group too, so every card on the screen is one finished photograph.
- The calendar is drawn from your bookings and connected calendars, and the shoot is matched to the booking by when the photos were taken. If two events sit on the same day, the capture times decide. Confirm the match or pick a different shoot, and the order files under that booking.
Step 3: check the groups and set the order
Open a card to see its exposures. If the detector split a set, drag the stray exposure onto its group. If two sets were joined, drag an exposure out onto the grid and it stands alone. Delete a frame you do not want merged.
Then put the cards in the order the listing should read: front exterior, living spaces, kitchen, primary suite, the rest, yard, and twilight last. Drag a card and an insertion bar shows where it lands. This order is real: the finished photos, the cover and the client gallery follow it.
Step 4: order HDR Merge
HDR Merge is already ticked for every detected bracket set, because a bracket set only exists to be merged. Its price is per group, not per frame, and the Order card at the foot of the right pane shows each line in its own unit, the total, and your balance after. The import's own line says it plainly: nothing is charged until you press Pay.
If a photo also needs Virtual Twilight or Virtual Staging, tick that Service on the same import. With photos selected, a tick applies to the selection; with none selected, it applies to all. A follow-on Service ordered on a merged photograph runs once, on the merge, so a five-frame bracket sent for twilight is one twilight charge, not five.
One more safeguard: the price on the button is the price charged. The server re-validates every set from the uploaded bytes, and a set that fails (a time gap, a flat ladder, two cameras) degrades to single frames. If that changes the total, the payment is refused and the new figure is shown for a second, informed press.
What the merge actually does
HDR Merge is one Service for interiors and exteriors; the pipeline routes each photo itself. For every group it blends the exposures, taking each part of the scene from the frame that captured it best, then corrects color, lens distortion and verticals in the same pass. The standard the Service is tuned to is a room that looks like the one you stood in: clean whites, honest contrast, and no glow around the window frames.
The clean-up listed on the Service runs with the merge at no extra line item:
- Window pulls and exposure blend
- Sky and lighting balance
- Lens and vertical correction
- Fireplace relight and TV-screen blackout
- Lawn, driveway and pool clean-up
- Photographer and camera removal
Step 5: review and approve
When the merges are back, the shoot shows as ready for review. The review surface is a filmstrip down the side and a viewport in the middle that zooms from 5% to 400%, with wheel-to-cursor zoom and drag to pan, so you can check a window edge at 100% and then step back to Fit.
Hold the backslash key to flip to the original exposure, or use the before and after compare. Walk the shoot with the arrow keys and hold every frame to the same checklist: the view through the glass is visible with no halo, the trim is actually white, the walls stand straight, and every room matches every other room.
You approve every photo yourself; there is no one else in the loop. A merge that fails is refunded to your balance automatically, and any single finished photo can be downloaded from the review surface.
Step 6: deliver
Approve and deliver is one action. It builds the full-resolution ZIP, sends the client a branded email, and opens a gallery link that needs no login. The gallery is your delivery portal: your name, logo, colors and copy, with the finished photos in the order you set at import, an originals section and a download-all control. The link is time-limited and expires on its own. Every AI-edited image carries a caption with the Service name, so the client sees which photos were edited without you adding a note; whether that caption satisfies your board is a question for your own MLS rules.
Before you send, Preview client gallery in the Deliver drawer opens the exact page the client will see, drawn by the same renderer as the public gallery. One detail to plan around: the ZIP is built once, at delivery, so an edit made afterward appears in the gallery but not in the ZIP until you deliver again.
A shoot in one pass
Put together, the whole path is six steps, each one a thing you can see on screen:
- Bracket every composition on a tripod: three to five frames, even steps, one burst.
- Plug in the card or drag the shoot in. Sets group themselves and match the booking.
- Fix any stray exposure, then drag the cards into listing order.
- HDR Merge is already ticked per group. Add twilight or staging where needed and press Pay.
- Review at 100%, flip to the original where unsure, approve.
- Deliver. The client opens your portal, not a file-sharing link.
Sources
- 81% of recent buyers who searched online rated listing photos “very useful”, the highest of any website feature. NAR, Home Buyers and Sellers Generational Trends, 2026