Editing
Virtual staging for real estate photographers: a how-to
How to shoot empty rooms for virtual staging, order single or multi-perspective staging in Studio, check scale and shadows, and disclose it right.
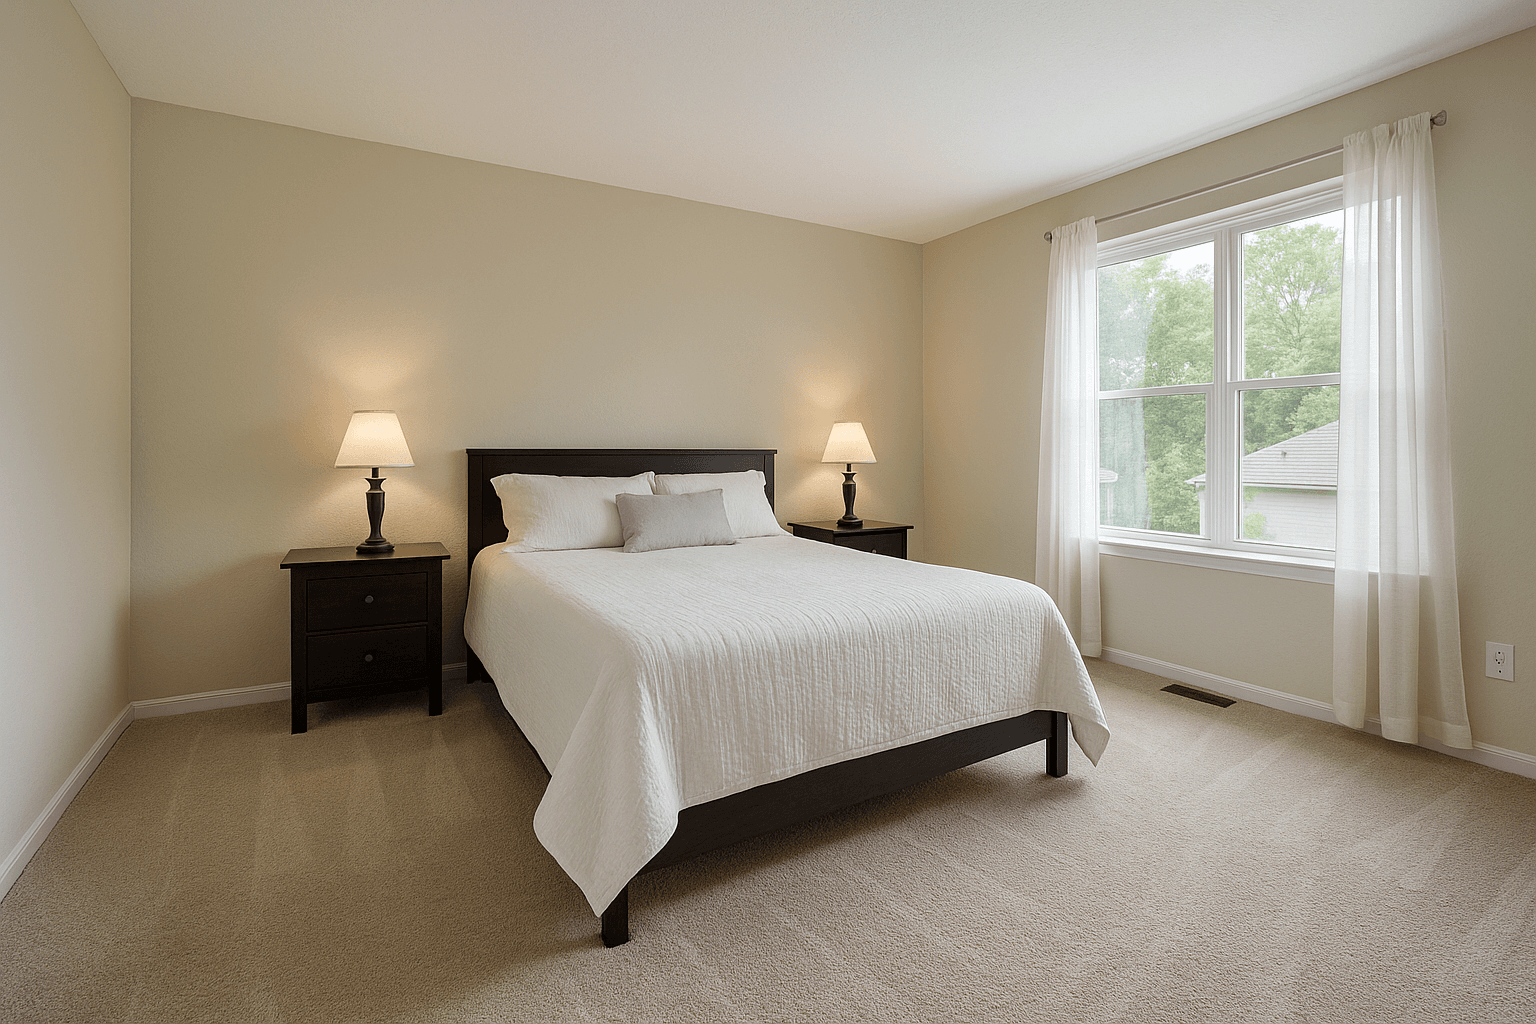
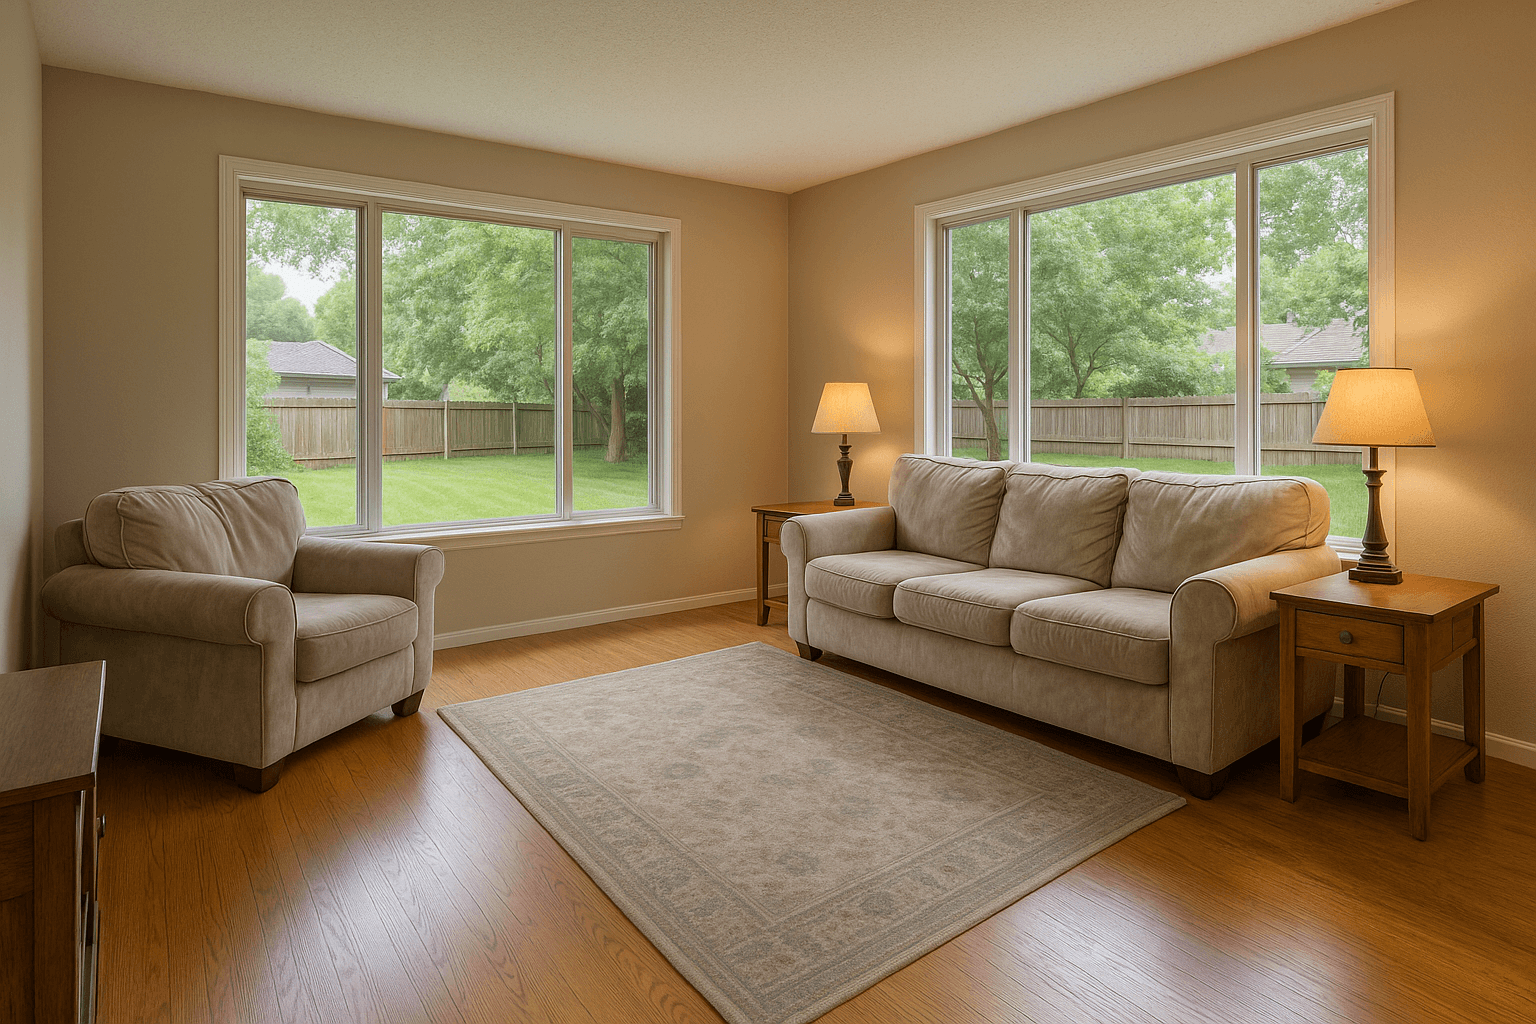
An empty room is the hardest photo in a listing to make work. There is no scale, no purpose, and nothing for the eye to settle on, so a generous living room and a cramped one read almost the same. Traditional staging fixes that with trucks and rental furniture. Virtual staging fixes it in the photo, as a one-time edit priced per image.
The photos are where buyers spend their attention. In the National Association of Realtors' 2026 Home Buyers and Sellers Generational Trends report, 81% of recent buyers who searched online rated listing photos very useful, the highest of any website feature. An empty room is one of those photos, and it is the one with the least to show.
This guide covers how to shoot for it, how to order it in Studio, what to check before you approve, and how to disclose it.
Shoot the room for staging, not just for the listing
Staging is only as good as the frame underneath it. The Service furnishes the room you send; it does not reshoot it, so a crooked or cluttered frame is still a crooked or cluttered frame once there is a sofa in it. Give the furniture somewhere to stand.
- Go wide, and keep the floor in frame. A doorway or corner position at chest height shows the whole room and gives the furniture a floor plane to sit on.
- Keep it level. Use a tripod and shoot straight verticals with a true horizon. HDR Merge includes lens and vertical correction, but a frame that starts level gives furniture a believable floor.
- Clean floors, bare surfaces. Paint cans, a stray extension cord, vacuum lines: anything left on the floor competes with the staging.
- Every light on, blinds open, and shoot your usual brackets. Staging runs on the merged photograph, so a balanced HDR merge is the right base.
- For one angle per room, one frame is enough. For an open plan or a primary suite that needs two to four angles, shoot them from your usual positions and keep the overlap obvious, so the same wall, window or fireplace appears in more than one frame.
Single perspective or multi-perspective
Studio sells two staging Services plus a per-angle add-on, and the two Services answer two different problems.
Virtual Staging furnishes one empty room in the style you choose. It is priced per image and treats each photo on its own, which is exactly right when a listing shows one frame per room.
Multi-Perspective Staging is for rooms you show from more than one angle. The room is staged once and rendered per angle, so the same layout appears from every camera, which is what a buyer notices when they flip between frames and the sofa does not move. Two angles minimum, and each angle after that is priced on its own as an Additional Staging Perspective, furnished to match.
The rule: one frame of the room, order Virtual Staging. Two or more frames of the same room, order Multi-Perspective Staging and upload those angles together in the same order, so they are treated as one space.
How to order Virtual Staging in Studio
Ordering happens in the import window, which carries every decision in one place: the shoot on the left, the photos in the middle, and the Services with the Order card on the right.
- Drop the shoot in. Brackets are grouped from their EXIF data, a single exposure stands as its own group, and you can drag cards to reorder them. The order you set here is the order the finals and the delivery gallery follow.
- Confirm the shoot. The calendar is drawn in the window with the capture day ringed and preselected, so a booked job files the order under its booking. Otherwise, name it as a new shoot.
- Order HDR Merge on the bracketed groups first. Staging runs on the merged photograph. If you tick a follow-on on an unmerged bracket set, Studio warns you that it would run on each of the set's frames instead, one render per exposure where you wanted one.
- Select the empty rooms and tick Virtual Staging or Multi-Perspective Staging. Services follow the selection: with photos selected, a tick applies to those; with none selected, it applies to all. HDR Merge is priced per group, everything else per photo.
- Pick the furniture style. The style select is set for the whole shoot and can be overridden on a single photograph, so a coastal living room and a modern neutral office can live in the same order.
- Check the Order card and press Pay. Each line is shown in its unit, with the total, your balance after, and the note that nothing is charged until you press Pay. The staged versions come back to the shoot.
The style choices that exist
Both staging Services share one furniture style list: Modern Neutral, Scandinavian, Farmhouse, Coastal, Minimalist, Luxury and Transitional. The style goes on the order with the photos, for the whole shoot or per photograph where you override it.
Match the style to the house and the buyer, not to your own taste. A 1920s bungalow in Farmhouse or Transitional reads as itself; the same house in Luxury reads as a costume. Hold one style across the whole set: a living room staged Coastal next to a bedroom staged Scandinavian reads as a rushed job. When you are not sure, Modern Neutral dates slowly and argues with the fewest buyers.
Review scale and shadows before you approve
Nothing is delivered until you approve it, so the review is your quality gate. The Service promises furniture at true scale and shadows that match the room's real light. Check that both held, frame by frame, and that the rest of the photo is still the room you shot.
- Scale against something real. A sofa should measure against the baseboard, the window sill and the door. If a bed would not fit through that doorway, do not approve that frame.
- Shadows in the right direction. Light comes from the windows you shot. A chair casting a shadow toward the window, or no contact shadow at all, is the thing buyers feel without being able to name.
- Compare against the original. Same openings, same floor, same view through the glass. If something outside the furnishing changed and you did not ask for it, do not approve or deliver that frame.
- Flip between angles on a multi-perspective room. The same pieces, in the same places, from every camera. An angle that disagrees with the others is one to hold back from approval, not one to deliver.
- Use the before/after slider on the order's review. It compares the staged frame against your upload in place, so the check happens on the same screen as the approval.
Disclose it to buyers
A staged photo is a marketing image of a room that is, in person, empty. Buyers are fine with that as long as nobody is surprised at the showing. Label every staged image as virtually staged in the MLS remarks, and ideally on the image itself, and check your board's rules, because many boards require it.
Keep the unstaged original in the gallery too. The unstaged frame is included with every staging order for exactly this reason: a listing that shows the empty room beside the staged room is showing both the potential and the truth.
Staging is for furnishings only. Never let a staged frame imply a finish, a fixture or a window the property does not have; that is misrepresentation, not staging.
A workflow that holds up
Shoot every empty room wide, level and clean. Merge the brackets first. Order Virtual Staging for single frames and Multi-Perspective Staging for rooms you show from several angles, in one style across the set. Check scale, shadows and the rest of the frame before you approve, then deliver the staged photo beside the original with the disclosure already written. Do it the same way on every vacant listing and the staged frame stops being a special request and becomes part of how you shoot.
Sources
- 81% of recent buyers who searched online rated listing photos “very useful”, the highest of any website feature. NAR, Home Buyers and Sellers Generational Trends, 2026